Bench Bleeding Saves Time
When installing a new master cylinder, it is important to get all the air out before putting it on the vehicle. While it is common to bleed the master cylinder on the vehicle, bench bleeding a master cylinder can be a time-saving alternative. To bench bleed the master cylinder, follow these steps.
Getting Ready
First, gather the supplies you’ll need to complete the job.
- Wrenches
- Screwdrivers
- Depressor for the backside of the piston
- Proper brake fluid – Look at cap of old cylinder to make sure you have the right brake fluid.
- Workbench with vise
Next, compare the old master cylinder to the new master cylinder to ensure that you’re using the correct part for your application. Pay attention to:
- Placement of fluid level sensor
- Connector type
- Sealing device on the backside – If they’re not the same you risk a vacuum leak from the brake booster.
- Pushrod contact – If it doesn’t make the same contact as the one you’re replacing, you could have a pedal that’s too low or a pedal that has no free play causing the brakes to lock up once they heat up.
- Connector fitting size – Put the fittings on the old master cylinder to ensure they’ll work on the new one
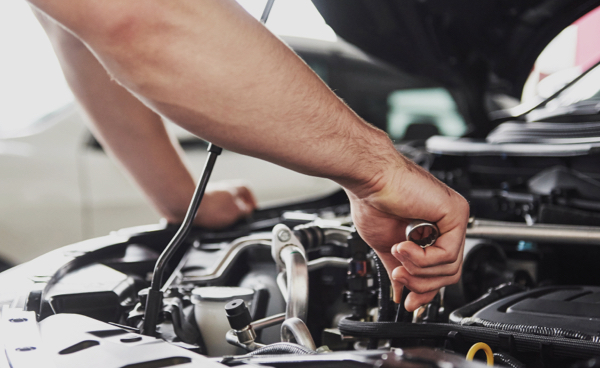
Procedure
1. Place new master cylinder in a vise; use soft jaw clamps to avoid damage to the backside of the master cylinder.
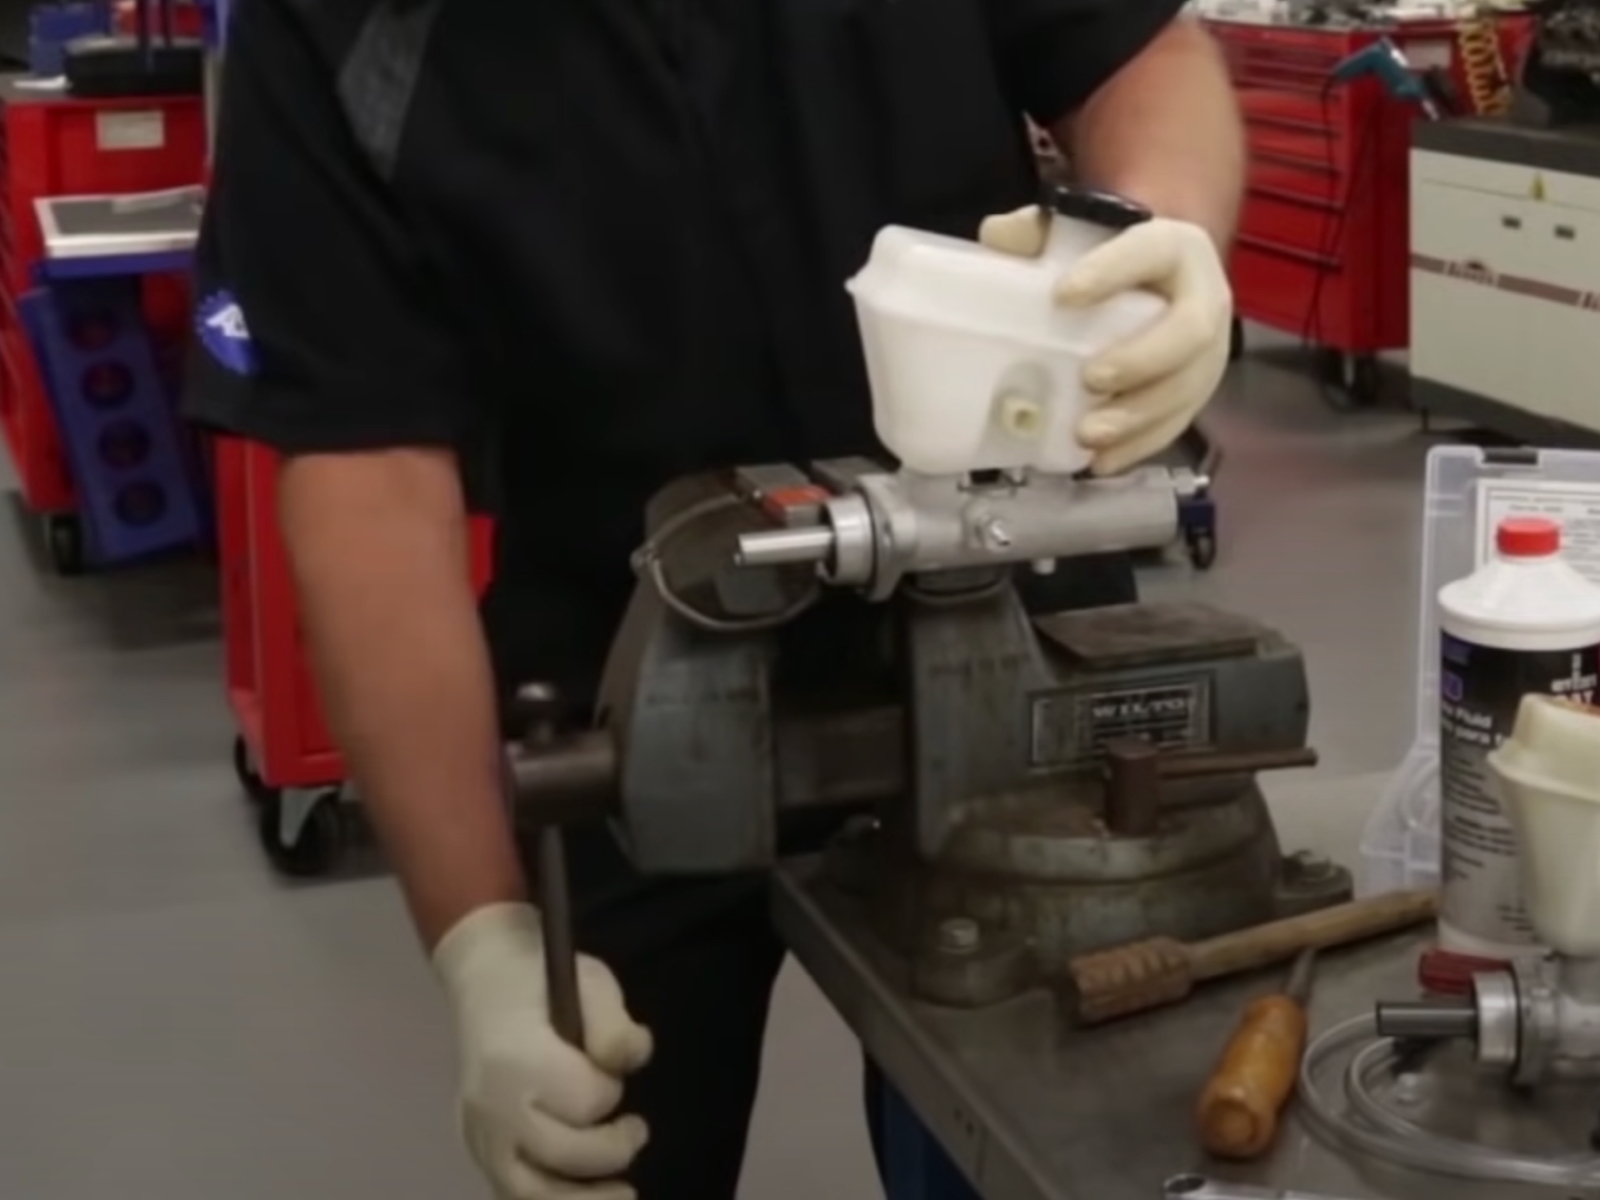
2. Remove the cap and install the fittings. Don’t overtighten them, you don’t want any air to leak in or fluid to leak out.
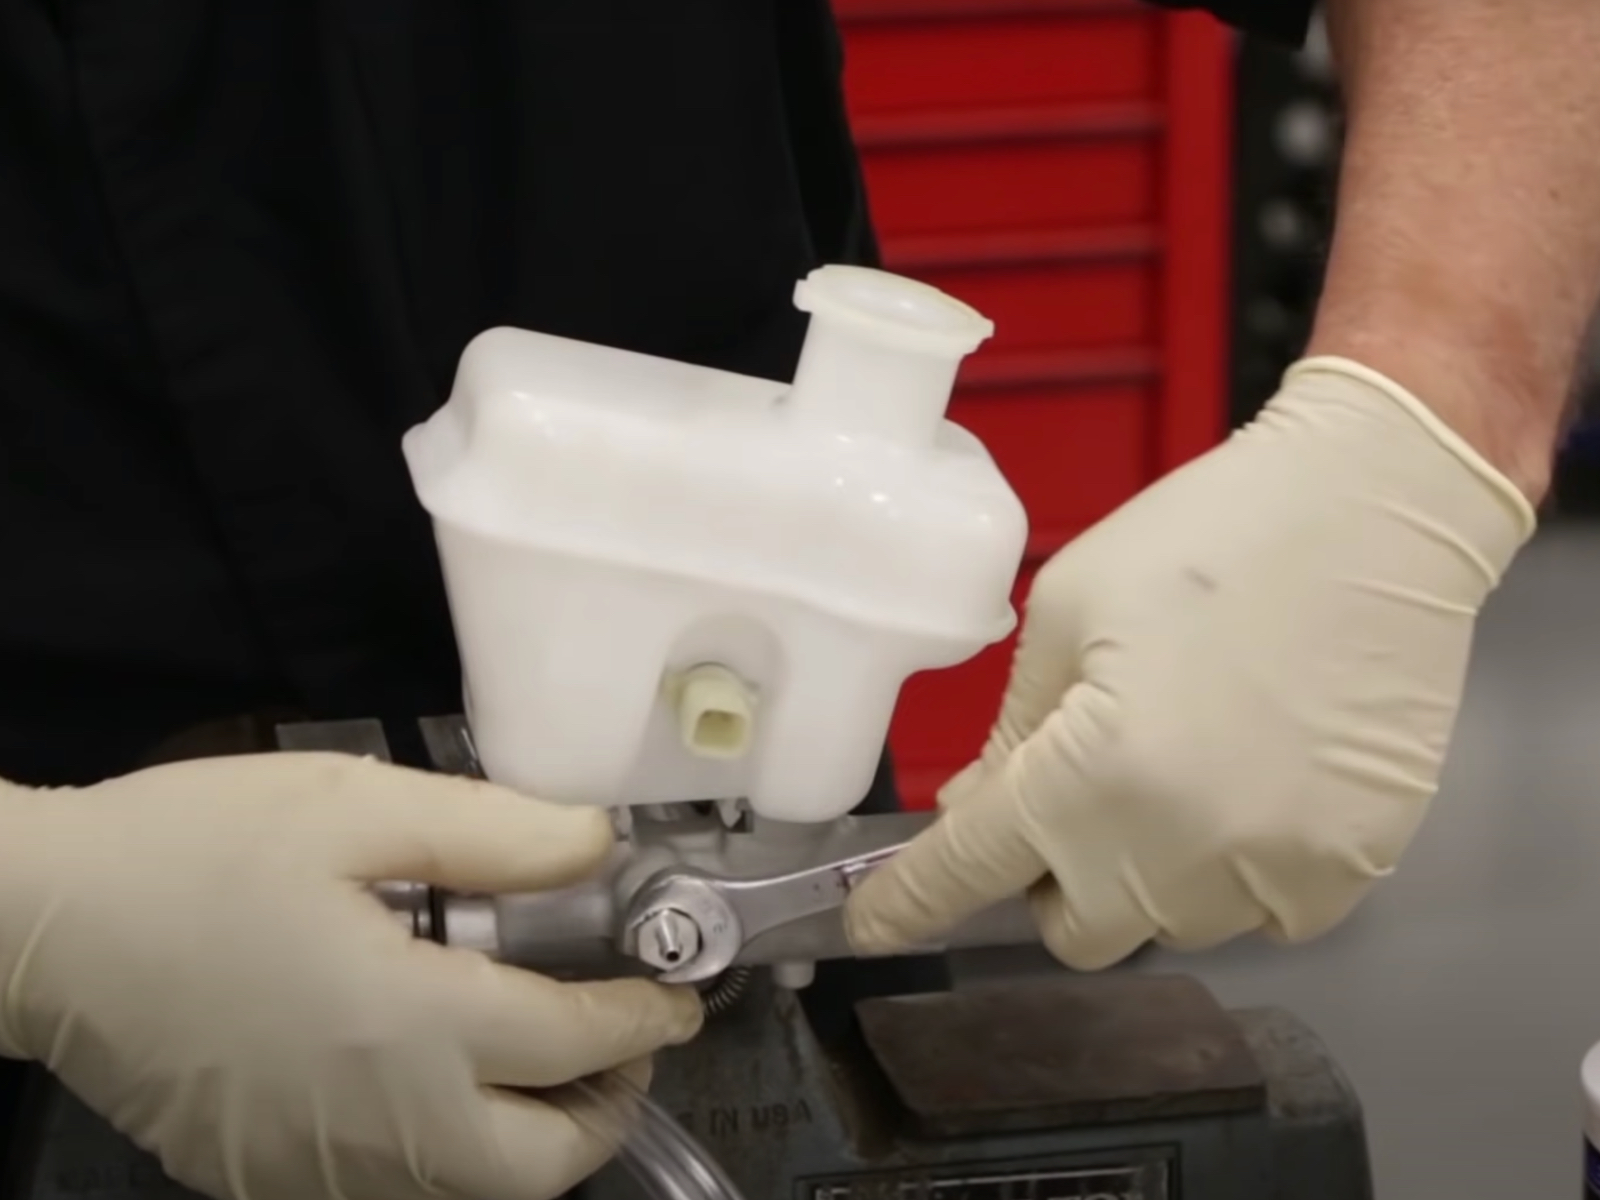
3. Install the lines. The lines allow the fluid to flow out of the master cylinder and back into the reservoir.
Tip – You can use a retainer to help do this. Put them into the bore so as you depress the piston, you’ll be able to push the air out and it will draw any excess fluid, so you don’t trap air in or allow air to come back in.
4. Fill cylinder with brake fluid starting with a fresh bottle. You can overfill it at this time, and it won’t cause any problems. Make sure you don’t have any leaks. As you fill up, the air will start to bleed down. Make sure the lines stay in the master cylinder and don’t work their way out. You can put something in the cylinder to keep the lines in.
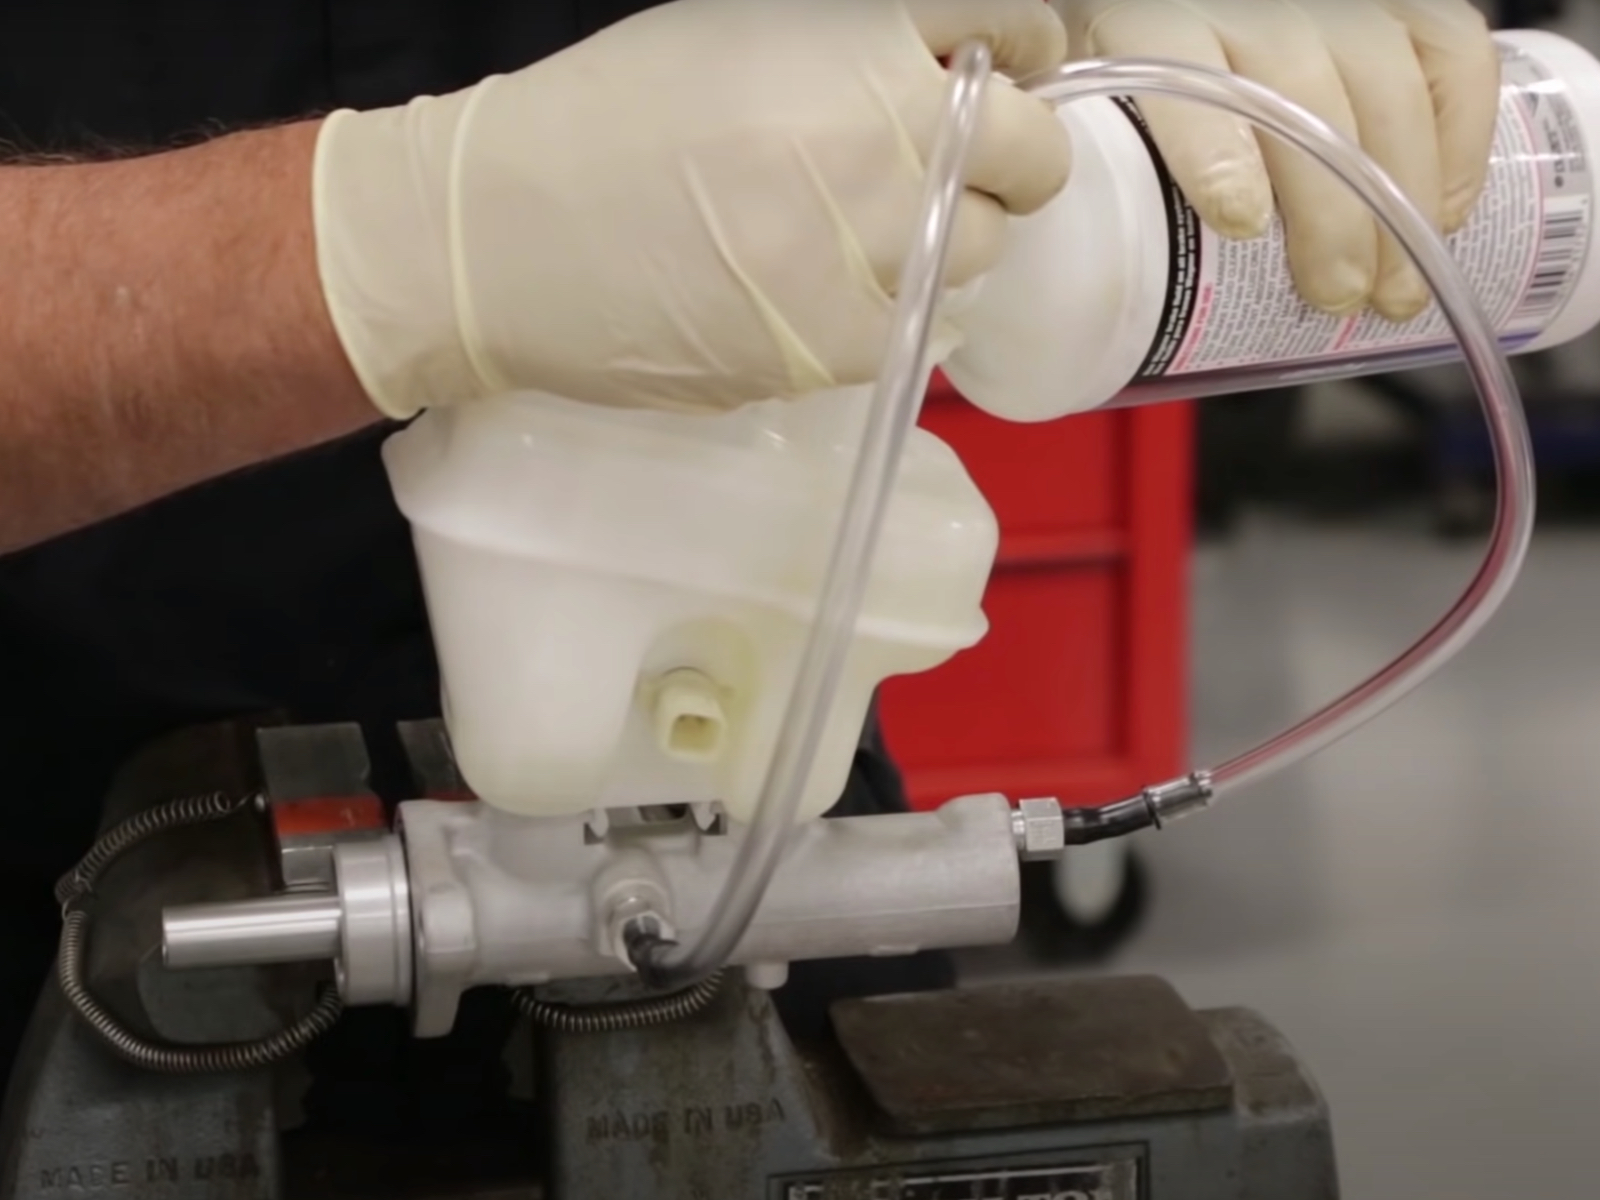
5. Depress the piston fully. Working slowly, you’ll start to see the fluid coming through the lines. The goal is to get nothing but fluid to fill the lines. When you begin, you’ll see air bubbles come up through. Allow the fluid to run down into the master cylinder before you depress the piston again. As you continue the process, you’ll see fewer air bubbles.
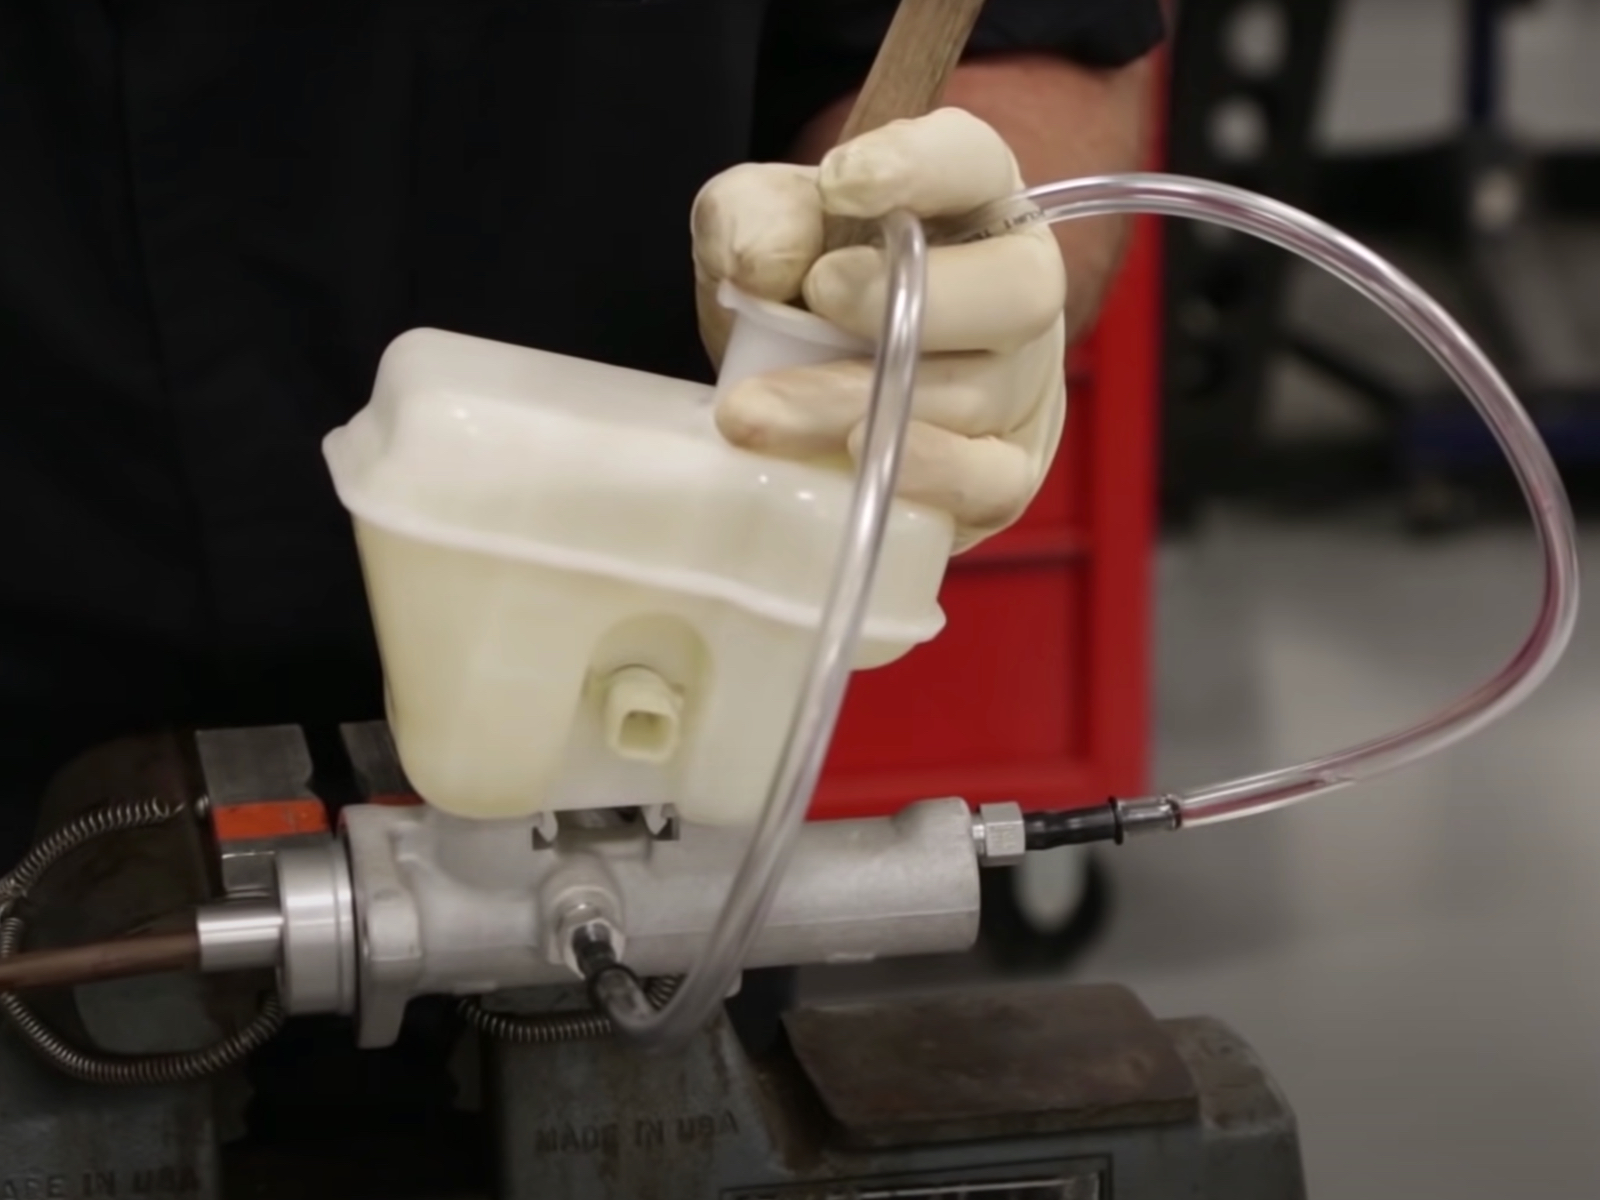
Tip – Don’t rush the job. Slowly depress the piston as many times as needed until there are no more air bubbles. If you rush the job, you may end up with a spongy pedal when you install the master cylinder on the vehicle because you can’t get all the air out. By doing the procedure on the bench, you can move the master cylinder all around to ensure you get all the air out.
6. Tighten the fittings. Double check that the fittings are properly tightened. If the fittings are loose, that could cause air to get in.
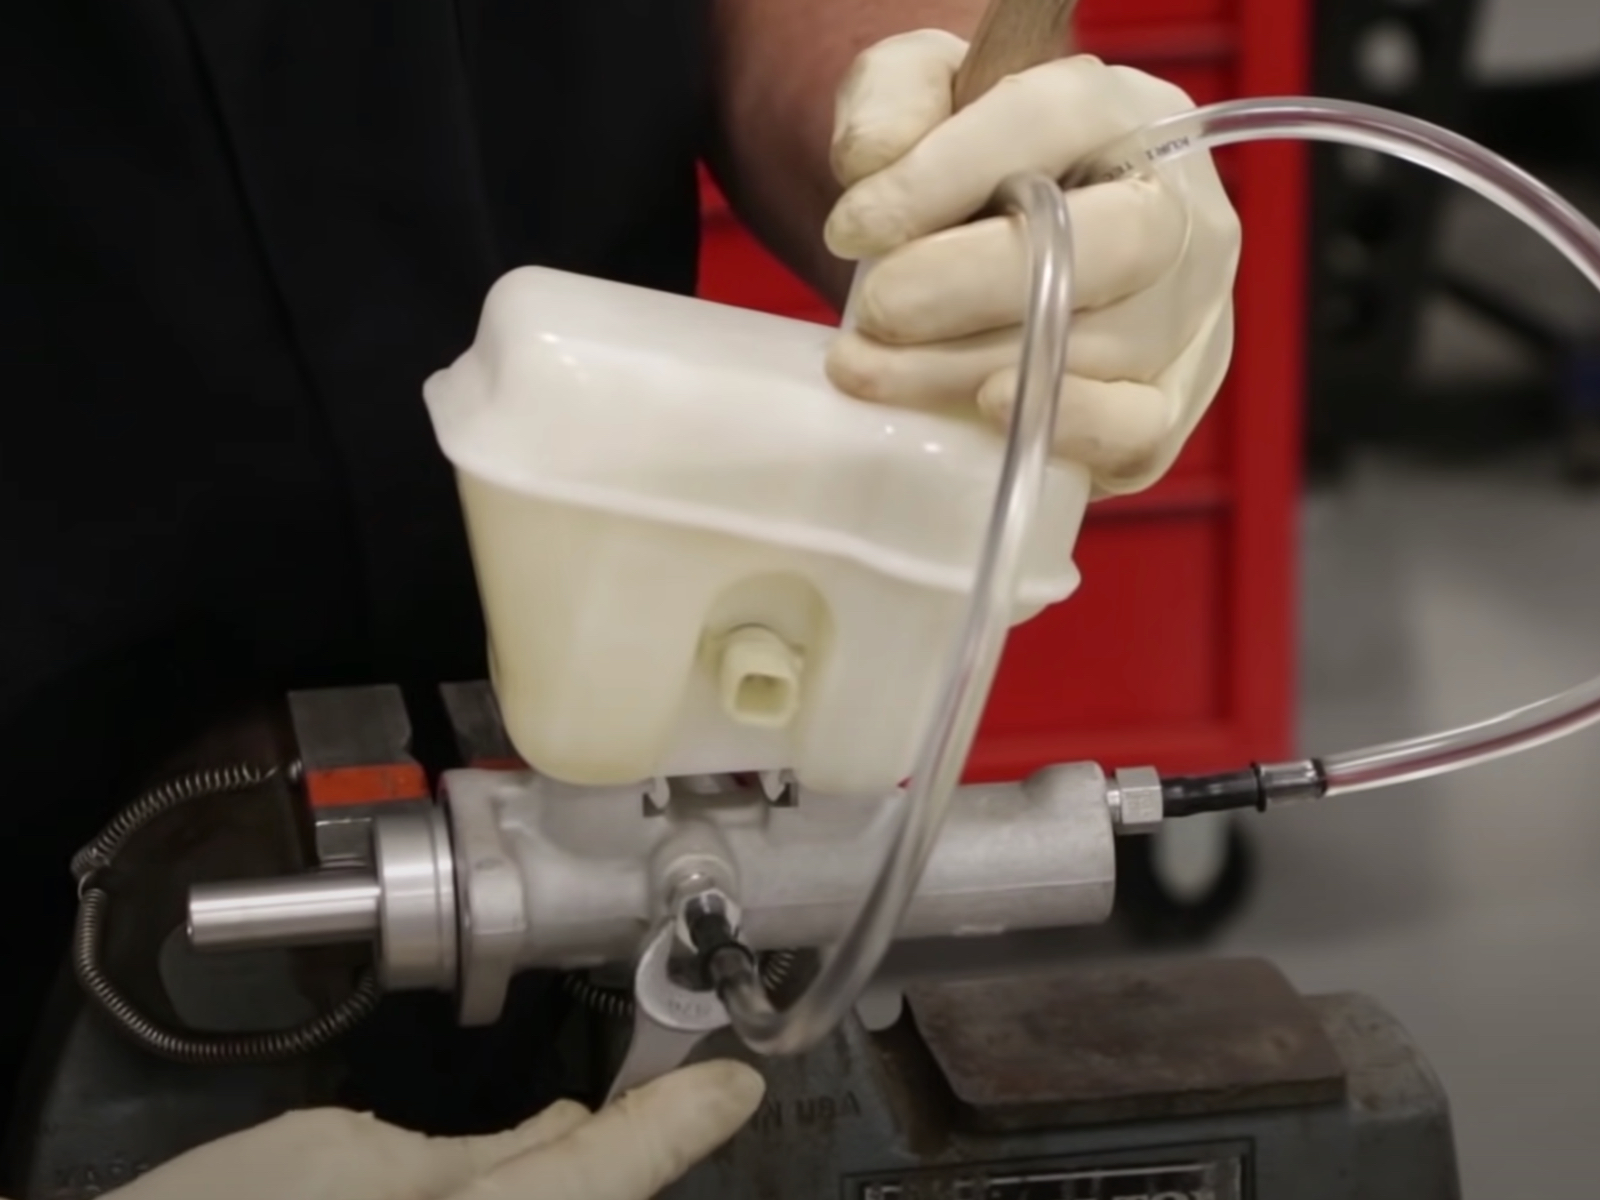
7. Once there are no more air bubbles, the master cylinder is ready to be installed on your vehicle.
Tip – Once the master cylinder is mounted and the brake lines are snug, loosen the lines a quarter turn. Have a helper sit in the car and slowly depress the pedal so the final tightening occurs while fluid is being pushed out past the lines. Any small air pocket in the line fitting will be flushed out.
Visit Garage Gurus for onsite and online automotive training courses that can advance your career.
The content in this article is for informational purposes only. You should consult with a certified technician or mechanic if you have questions relating to any of the topics covered herein. Tenneco will not be liable for any loss or damage caused by your reliance on any content.
 English